Flooring Installation Invoice Templates
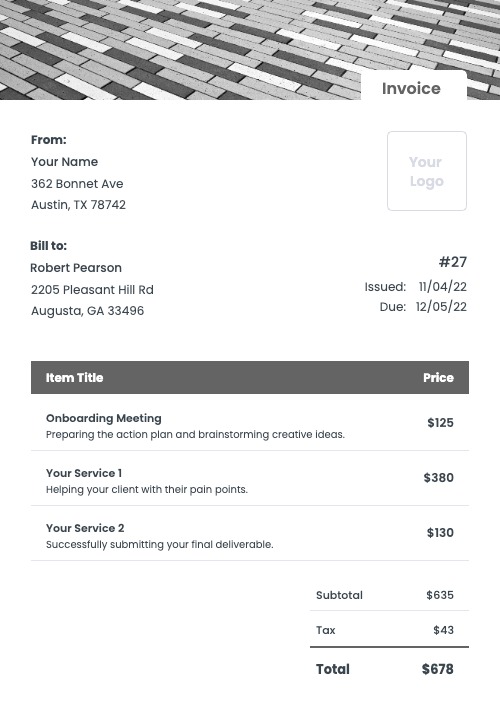
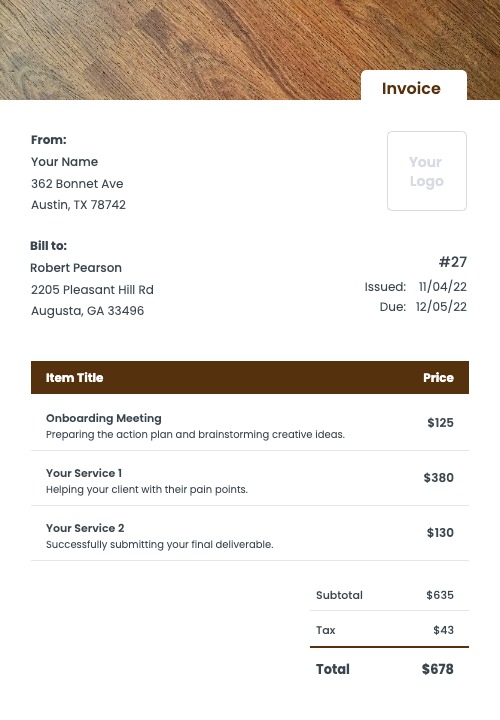
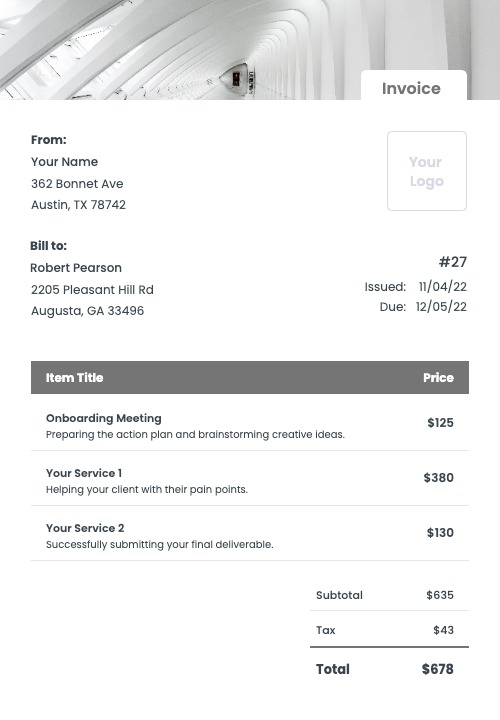
Meticulously installing floors is your specialty. Let us help you with the paperwork by providing a free flooring installation invoice template.
With Kosmo’s easy-to-use platform, you can create a professional invoice in minutes and get paid faster. With online payments and automatic late payment reminders, you’ll never have to chase a client for payment again.
Create Your Own Invoices For Free


How To Create A Flooring Installation Invoice That Gets Paid
As a flooring installer, you provide a vital service to homeowners and businesses. Your clients rely on you to install their flooring quickly and efficiently, and to make sure that it looks great.
To ensure that you are fairly compensated for your work, it is important to itemize your services in your invoices. For example, if you are installing hardwood floors, your invoice might include items such as “measuring the area”, “laying the subfloor”, “installing the hardwood flooring”, “finishing the floor”, and “cleaning up”.
If you are installing tile, your invoice might include items such as “measuring the area”, “laying the subfloor”, “installing the tile”, “grouting the tile”, and “cleaning up”.
By itemizing your services, you can make sure that your clients understand exactly what they are paying for, and you can ensure that you are fairly compensated for your work.

Creating an invoice step by step
- Download a template
- Change the colors of the invoice
- Add your own company information
- Add your client’s details
- Add the line items
- Calculate applicable taxes and discounts
- Check the final amount
- Add your payment terms, notes and a due date
- Send the invoice to your client
- Keep track of paid and unpaid invoices
Or use Kosmo to make the process simple and fast.
Creating A Flooring Installation Invoice With Kosmo

1. Style and customize
Choose an invoice template that suits your industry and style. Next, adjust the invoice by changing the colors and by uploading your logo to match your brand.

2. Enter line items
Enter all items you’d like to bill to the client. Add a title and an optional description to provide more details regarding the work completed. Lastly, add the cost for each item.

3. Send the invoice
Choose your preferred payment method and add any terms & conditions. Hit “send” to email the invoice and receive a notification once your client has paid the invoice.
Get paid on time, every time.
Create professional invoices with Kosmo and level up your business today.
Why Should You Use A Flooring Installation Invoice Template?
When you are ready to install new flooring in your home or business, it is important to have a professional and reliable flooring contractor. One way to ensure that your flooring contractor is professional and that they will do a good job is to use a flooring installation invoice template.
A flooring installation invoice template will give your flooring contractor all of the information that they need in order to provide you with a professional installation. The template will also help to ensure that the contractor provides you with a detailed and itemized invoice for the work that they have completed.
Using a flooring installation invoice template is a great way to protect yourself and your investment. By using a template, you can be sure that your contractor is professional and that they will provide you with a quality installation.

Flooring Installation Invoice Requirements Checklist
- A unique invoice number.
- The payment due date.
- The date when the invoice was issued.
- Your name and/or company name and your contact information.
- Your client’s name and/or company name and contact information.
- A detailed line-by-line break down of your services and products.
- Any applicable taxes and discounts.
- The calculated total price of the invoice.
- Accepted payment methods, for example credit card, check, PayPal and others.
- Additional notes about payment terms, late fees and more.
When Is The Right Time To Send My Flooring Installation Invoice?
There is no one-size-fits-all answer to this question, as the right time to send a flooring installation invoice will vary depending on the specific project and the agreement between the contractor and the client. However, in general, it is best to wait until the project is completed and the floors have been inspected and approved by the client before sending the invoice. This will ensure that the client is happy with the work and that there are no outstanding issues that could cause problems with payment.
Kosmo vs Manual Invoices
| Feature | Kosmo | Template |
|---|---|---|
| Create professionally designed invoices. | ||
| Securely send invoices to clients via email. | ||
| Get paid faster with online payments. | ||
| Automatically calculate invoice totals. | ||
| Track payments and invoices in real-time. | ||
| Receive automatic reminders for overdue invoices. | ||
| Access your invoices from anywhere in the world. | ||
| Get Started For Free |
How Invoicing Software Can Help You
Save Time
Invoicing software can help you save a lot of time. It allows you to create and send beautiful invoices quickly and easily. This means that you can spend less time on administrative tasks, and more time on your work.
Get Paid Faster
An invoicing software like Kosmo can help you get paid faster. When you send invoices electronically, you can often get paid quicker than if you had to wait for a check to arrive in the mail.
Organize Your Business
When all of your invoices are stored in one place, it is easier to keep track of what is owed and when payments are due. This can help you avoid getting paid late.
Professional Design
With invoicing software, you can often choose from a variety of templates and designs. This means that your invoices will look professional and polished. So take your pick and make your business look great.
Get paid on time, every time.
Create professional invoices with Kosmo and level up your business today.
FAQs (Frequently Asked Questions)
Who needs to use a flooring installation invoice?
A flooring installation invoice is a document that is used by flooring contractors to request payment for their services. This type of invoice typically includes a description of the work that was performed, the materials used, the cost of labor, and the total amount due. The invoice may also include other important information such as the date of service, the contractor’s contact information, and the customer’s name and address.
Flooring installation invoices are typically used by customers who have hired a flooring contractor to install new flooring in their home or business. In some cases, the customer may request an invoice in order to obtain a refund or to have the work covered by insurance. In other cases, the customer may simply want to keep a record of the work that was performed.
How do you bill for flooring installation work?
There are a few options for billing for flooring installation work. The first option is to bill by the square foot. This means that you would charge a certain amount for each square foot of flooring that is installed. The second option is to bill by the hour. This means that you would charge a certain amount for each hour that you work on the flooring installation. The third option is to bill by the job. This means that you would charge a certain amount for the entire job, regardless of how long it takes or how many square feet of flooring is installed.
How to create a flooring installation invoice?
Assuming you are creating an invoice for a customer who has hired you to install new flooring in their home:
Your invoice should include:
-Your business name and contact information
-The customer’s name and contact information
-The date of the service
-A description of the work performed
-The total cost of the job
-Any relevant discounts
-The terms of payment
Once you have completed the invoice, send it to the customer either by mail or email. Make sure to keep a copy.
How can I make my flooring installation invoice stand out?
Invoicing for flooring installation can be tricky- you want to make sure you include all the details of the job so the customer knows exactly what they are paying for, but you don’t want the invoice to be so long and complicated that the customer gets overwhelmed. Here are a few tips to make your flooring installation invoices stand out:
1. Use a professional, clean invoice template. This will make your invoice look polished and will help it stand out from the competition.
2. Include a detailed description of the work that was performed. This will help the customer understand exactly what they are paying for and will give them confidence that they are getting what they paid for.
3. Include your contact information on the invoice in case the customer has any questions. This will give them a way to get in touch with you if they need to.
4. Make sure the invoice is easy to read and understand. Use clear language and concise sentences. This will help the customer quickly comprehend the invoice and make sure they don’t have any questions about the charges.
5. Thank the customer for their business. A simple thank you can go a long way in making the customer feel good about their purchase and helping them remember your business in the future.
What are some tips for creating a flooring installation invoice?
1. The first step is to list out all of the materials that were used during the installation process. This should include the type of flooring, how many square feet were used, and the cost of each individual item.
2. The second step is to list out all of the labor costs associated with the installation. This should include the number of hours worked, the hourly rate, and any other relevant costs such as travel expenses.
3. The final step is to calculate the total cost of the project and list it on the invoice. This should include the cost of materials, labor, and any other relevant costs such as taxes or fees.
What are some common mistakes to avoid when creating a flooring installation invoice?
Some common mistakes to avoid when creating a flooring installation invoice include:
1. Not itemizing each individual item or service.
2. Not providing a breakdown of the total cost.
3. Not specifying the date of installation.
4. Not specifying the warranty period.
5. Not including the customer’s contact information.