Choose “invoices” from the left menu and create a new invoice.
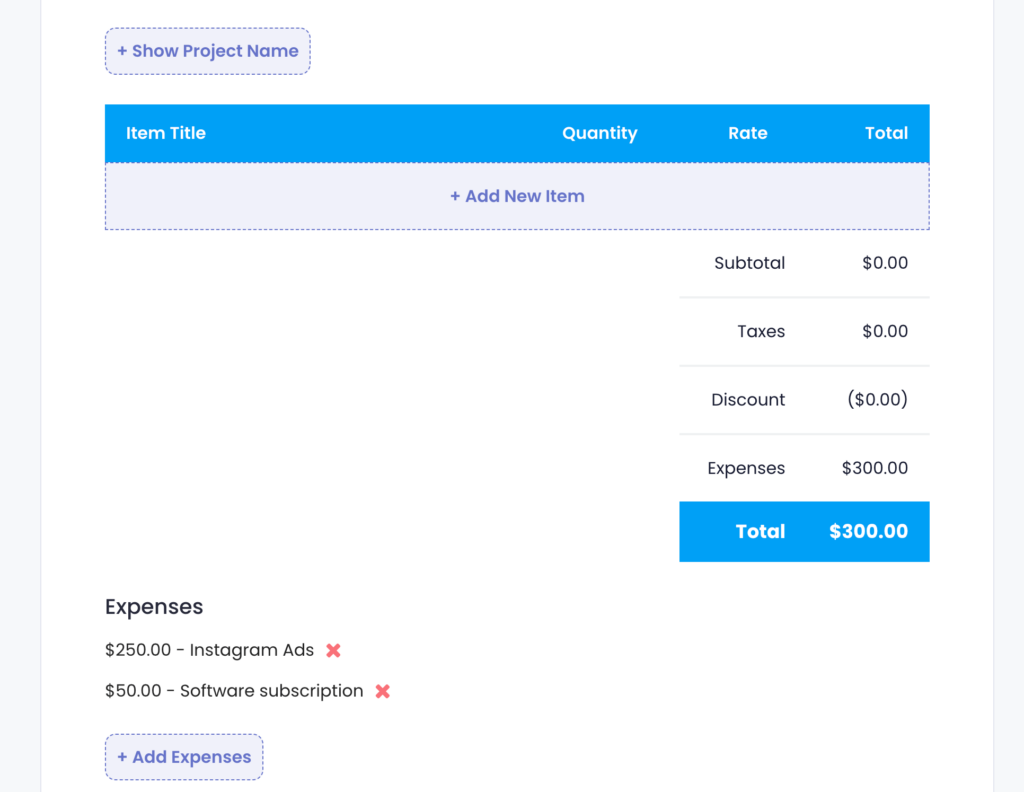
Adding expenses to your invoice is only possible if you choose to create an invoice for a project. Expenses can’t be added to manual invoices. Click the “+ Add Expense” button under the item table.
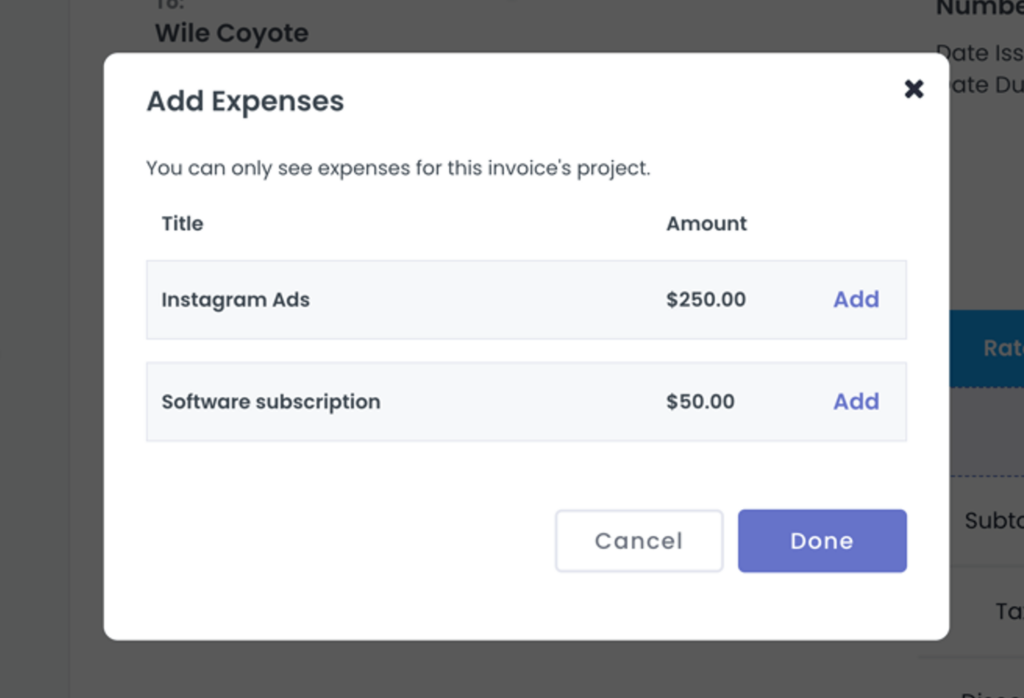
You’ll see all the billable expenses that belong to the project and that haven’t been reimbursed yet. If you don’t have any associated expenses, you can create a new expense here by clicking “create new expense”.
Please note that you won’t be able to change the project or change the billable status for the expense within the invoice.
Once you chose the expenses, you’ll see them listed as a total in the items table and listed individually underneath for clarification.

When the client paid the invoice, the status of the expense will be changed to “reimbursed”.